Instructions for navigating the course site
| Site: | Health Informatics Online Classroom |
| Course: | Health Informatics Online Classroom |
| Book: | Instructions for navigating the course site |
| Printed by: | |
| Date: | Friday, March 20, 2026, 5:15 AM |
Description
This book provides Moodle directions for various items in the course.
Welcome
This Moodle book module provides easily accessible instructions for using the Moodle Virtual Classroom site.
“MOODLE” Stands for “Modular Object-Oriented Dynamic Learning Environment.” It’s an open source software (Free!) environment we use to create and house our health informatics courses. Please use this document as a guide to using Moodle.
We recommend that you browse through the entire book once for an introduction to Moodle. Use the right and left arrows (next and previous) to navigate through this book. You will find these arrows on the right hand side, just above and just below this text.
You can return as often as necessary to reference the directions about the processes of working in Moodle using the quick links listed in the Table of Contents on the left side of the screen.
Main Classroom Page
|
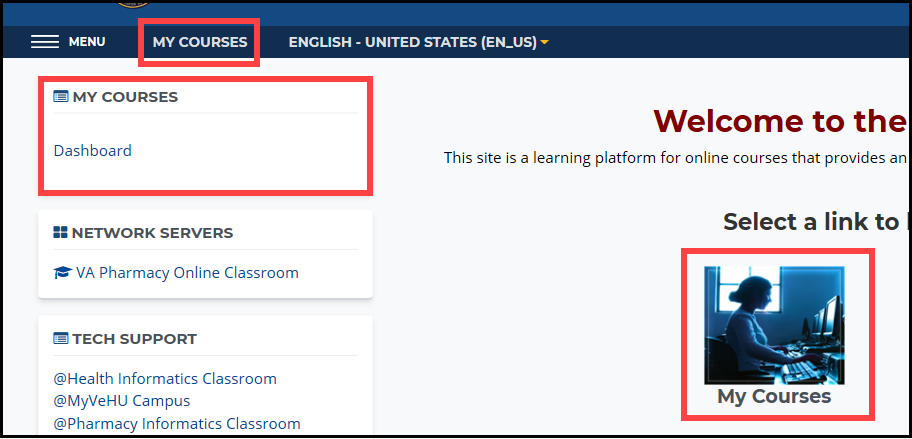
The image below is the VHA Health Informatics Online Main Classroom Page. After logging in, you will be able to access the courses you are registered for by using any of the links labeled “My Courses.” This will take you to your Dashboard. |
 |
Your Dashboard
|
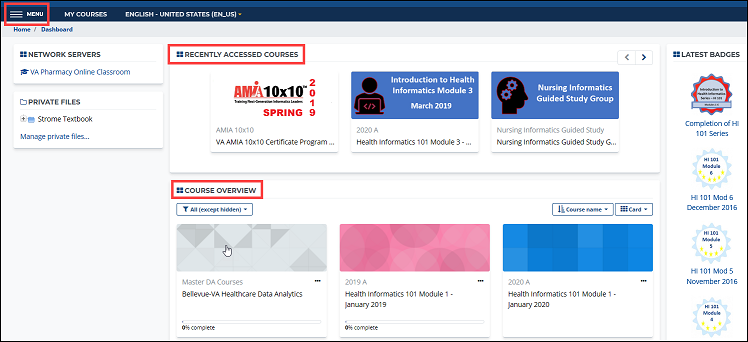
The Dashboard provides an overview of your Moodle classroom. Courses you have recently viewed as well as those you are currently enrolled in are displayed in the center (main) section of the page. On the right, you will see items like badges you have earned, the site calendar, upcoming events, and other users currently online. A dashboard example is shown below. You may navigate to specific courses by selecting them from the dashboard. Other Navigation options are available via the “Menu” icon in the upper-left corner. Using the Menu is described further in the next section. Clicking on a course will take you to that course’s main page. |
 |
Course Layout
|
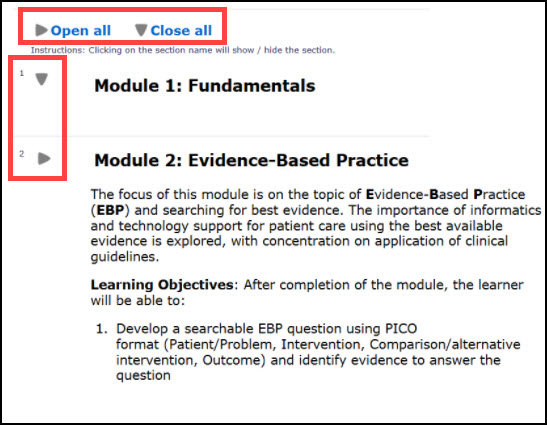
The VHA Health Informatics Online Classroom utilizes several different course layouts in its various courses. Collapsible Collapsible sections help minimize scrolling. In those courses, you can use the grey triangles to open and close all or individual sections within the course. Simply select the triangle to toggle it to open or close a section or sections. |
|
|
|
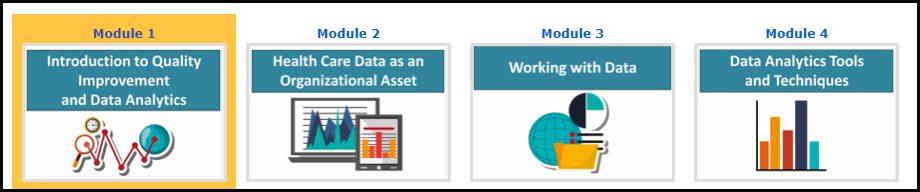
Grid Format The grid format utilizes a "grid" of icons -- one for each course module. Click on an icon to display the associated content. |
 |
|
Section Links Section Links allow you to quickly jump to a particular section. |
 |
|
Scroll and Click To access a section or activity, scroll up or down as needed and click on the item you want to access. |
 |
Main Course Page
|
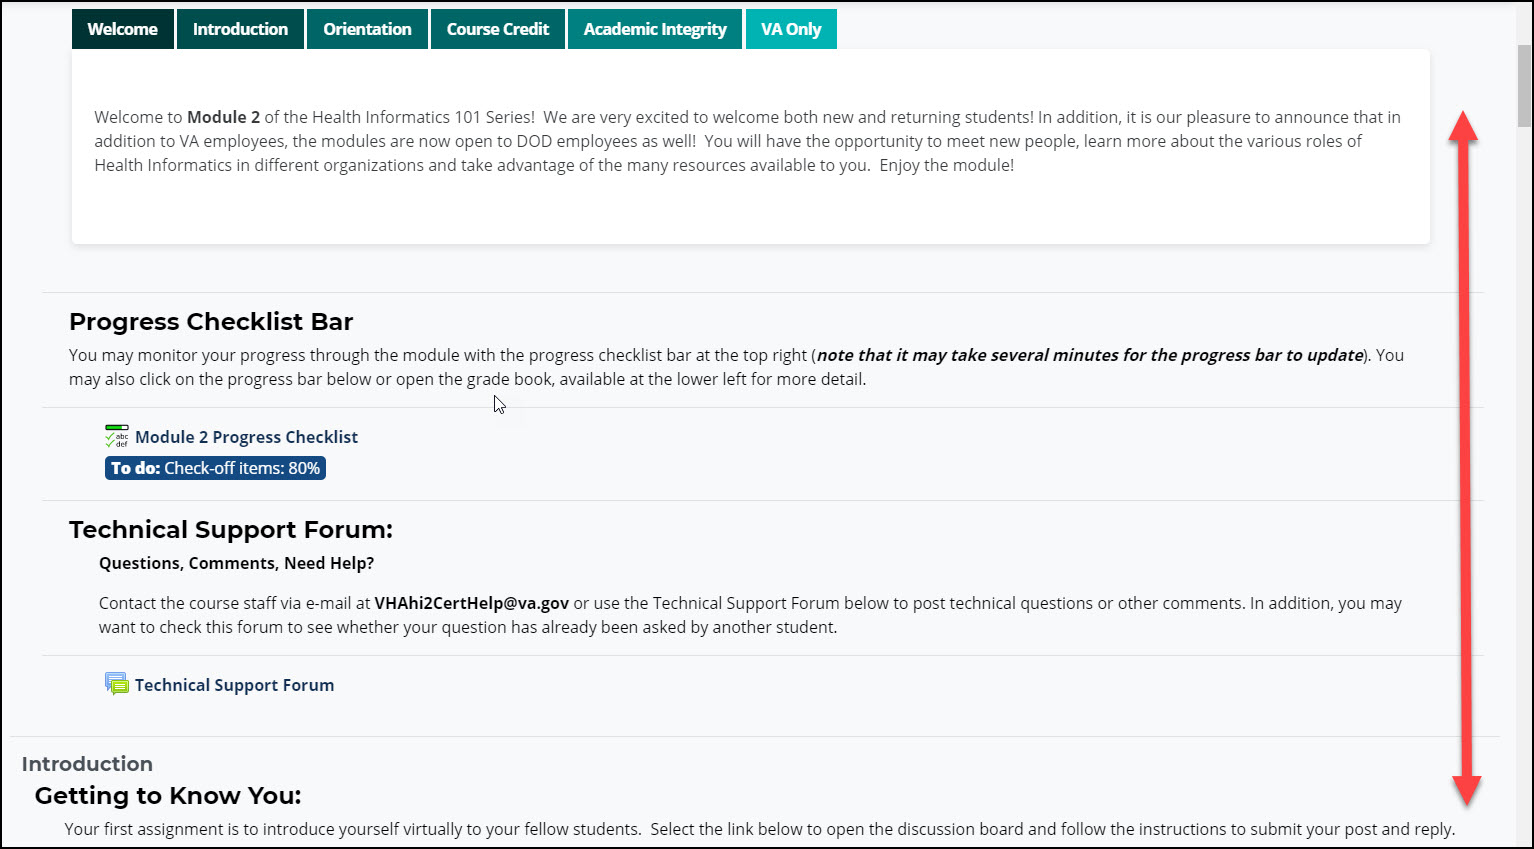
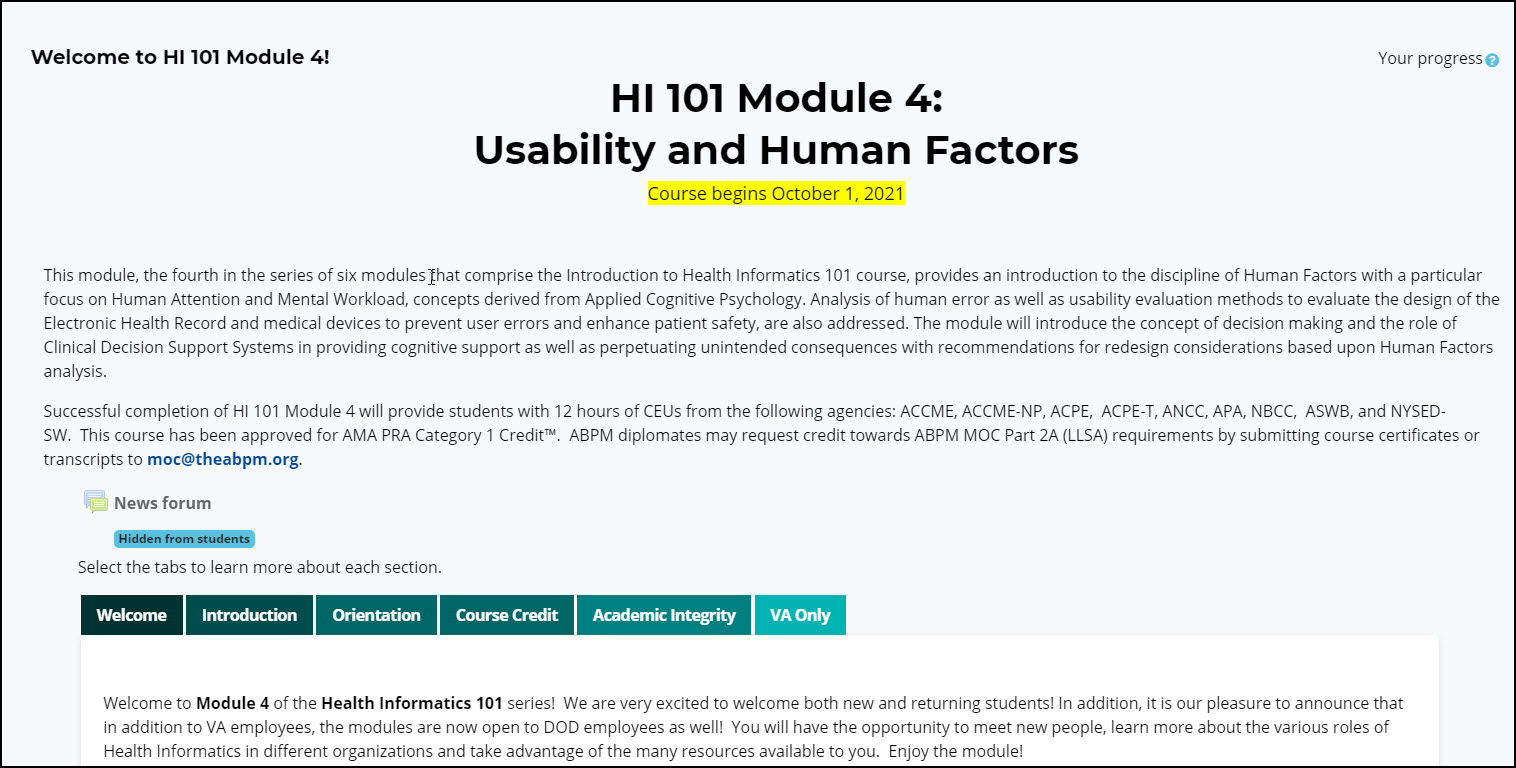
The main course page will act as your main classroom while working through a course. This is where you will find links to all the course materials. Understanding the elements of the main page will enhance your experience with e-Learning. |
|
|
It's important to know how to return to the main course page!
While working through the course. There are two ways to access the main course page from any place in the course: The Breadcrumb Trail and the Navigation Block.
Breadcrumb trail
At the top of each Moodle page, you will see a Breadcrumb trail that describes where you are in the course.
You can select the "Course name" link in the Breadcrumb Trail to return to the main course page.

Navigation Bar
|
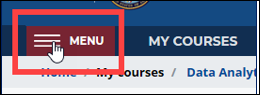
Click the “Menu” icon in the upper-left corner. |
|
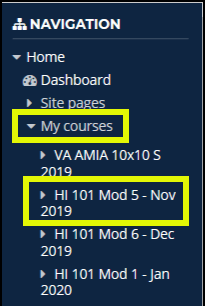 |
The menu will appear on the left side of each Moodle page and you will see the Navigation block at the top. Go to the "My Courses" section and click the link containing the course name to return to its main course page. |
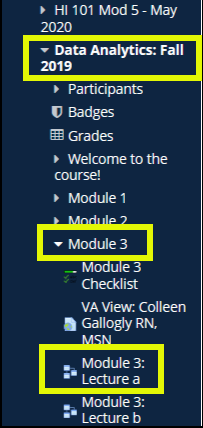 |
NOTE: You can also use the menu to jump to specific assignments within a course.
NOTE: The Navigation block is handy for jumping quickly to a certain assignment or another screen in the course. We DO NOT RECOMMEND using the block exclusively. Important materials may be contained on the main course page that are not linked in the navigation block. The Menu/Navigation bar collapses once you have made your selection. |
Course Content
Within each course, you can expect to find any of the following elements:
Support Resources
These forums provide places to communicate questions to the instructor of that module.
- Technical Support Forum: Posts in this forum can be viewed by all course participants. Have questions about navigation, difficulties accessing links or downloading files? Check the posts in the Technical Support Forum to see if your question has already been asked by another student. Your answer may already be available. If not, post a new question and be sure to provide sufficient detail about the issue you are having.
Required Lectures and Readings
These sections will include a variety of resources for you to read and understand before moving on to the activities and assignments. Resources can include:
- Moodle Books: The Moodle book module allows you to read information online without any additional software such as Microsoft Word or PowerPoint. There is an option to print books if desired.
- Outside sources: There will often be a Moodle page listing links directing to outside sources of reading material.
Required Activities and Assignments
These sections will include a variety of activities and assignments that you must complete by the specified due date. Activities can include:
- Databases: Complete entries to collaboratively create a valuable resource
- Forums: Asynchronous discussions
- Glossaries: Look up a term you are not familiar with or browse through to learn something new
- Online text assignments: Submit work by typing directly into Moodle or pasting (Ctrl+V) from a source document
- Uploading of files assignments: Submit work by uploading a file
Optional Readings and Supplemental Resources
This section will include additional materials to consider reading and saving for future reference. It is strongly recommended to browse through the optional and supplemental items for further knowledge. Like the Required Lectures and Readings section, Moodle book modules and outside resources will be used to present the information.
How-to
If you are new to Moodle, this section will provide some important how-to steps to for working within the environment.
If you do not find the directions that you need, please post in the Technical Support forum or send an e-mail to VHAhi2CertHelp@va.gov.
Edit Your Profile
|
To get the most out of your virtual classroom experience, you should take some time to get to know your fellow classmates. In addition to introducing yourself and interacting with other students in the discussion forums, your profile is an opportunity to tell your classmates a little about yourself. Settings within your profile also give you an opportunity to manage how your e-mail relative to new posts in course discussion forums is handled. |
|
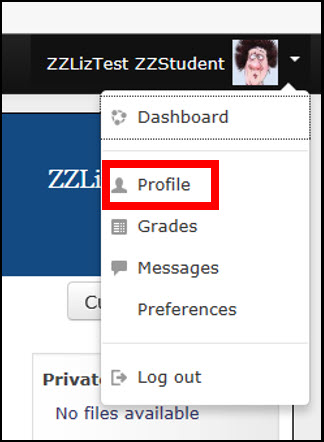
At the top right of the screen, you should see your name (and your picture once you upload one). |
|
Click "Edit profile."
|
|
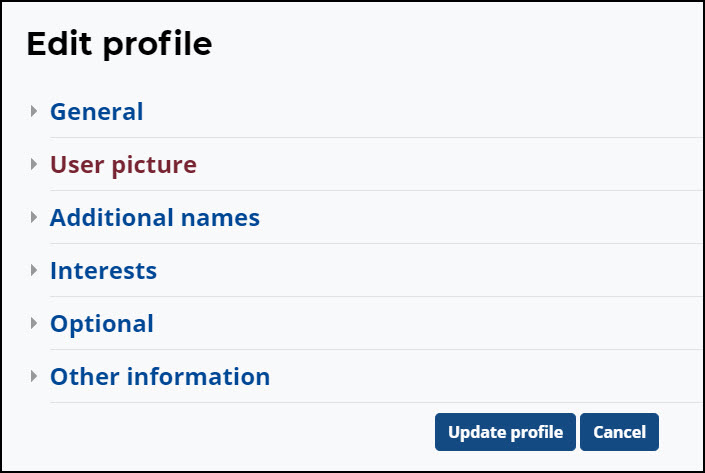
Within the profile, there are several sections you can address.
|
Be sure to select "Update profile" to save your changes before exiting the screen.
|

 General:
User Preferences
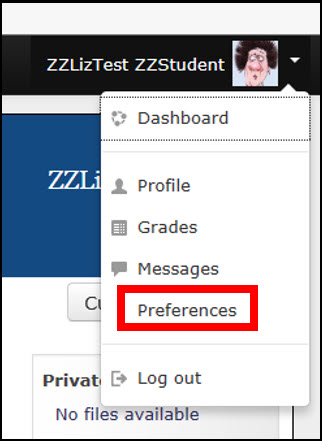 |
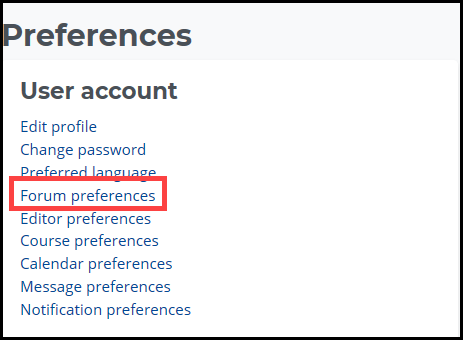
There are some important items that you will want to address within your user preferences. These preferences determine how much mail you receive from the course, how discussion forums display, and several things that can make a considerable difference in your course experience. One of the most significant of these is Forum preferences, which we will describe shortly. Click “Preferences” |
|
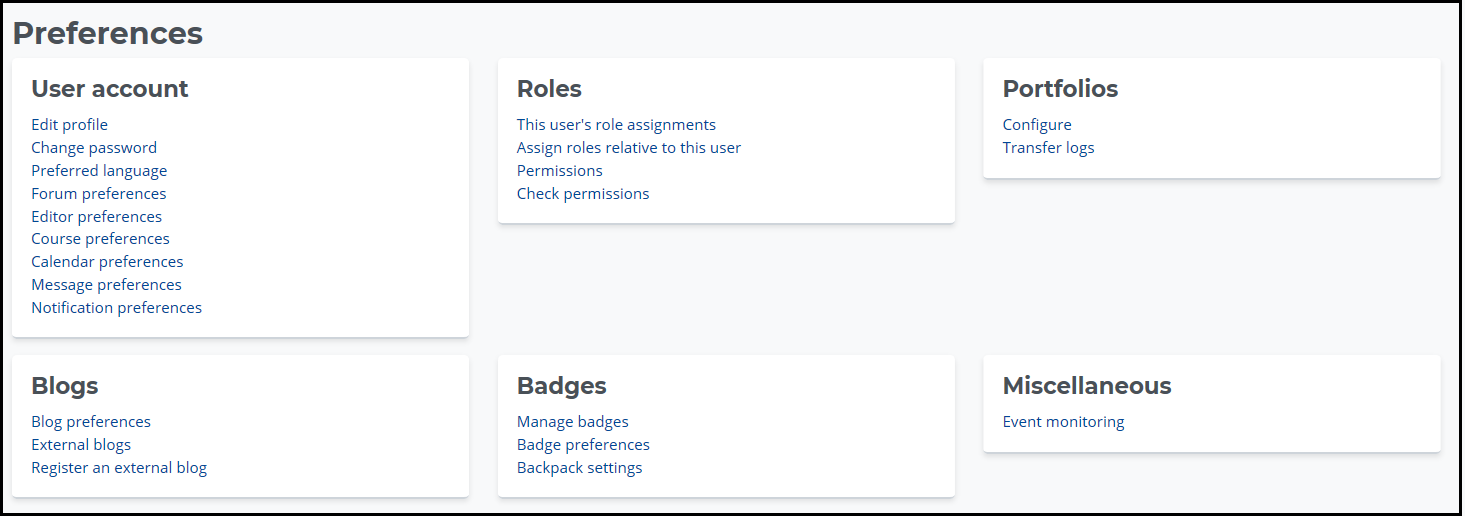
The “Preferences” screen appears. |
 |
|
In the following pages, let’s look at setting some specific preferences. |
Editor Preferences
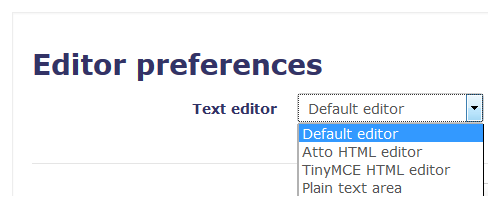
Throughout the course, you will have opportunities to enter text. The current default editor is the TinyMCE editor, which provides more formatting options, such as highlighting text. Other options include the Moodle Atto editor and Plain text, which is the most limited of the three. More information about each is covered below.
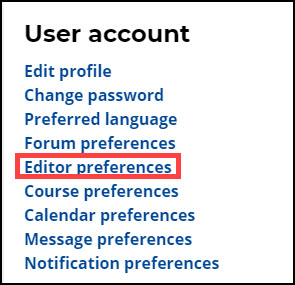
To change your editor preferences, go the top right of the screen, click the drop down to the right of your name, click on "Preferences," then "Editor preferences."
Important Note:
In order to Copy and Paste in Moodle, you will need to use Ctrl + C for Copy and Ctrl + V for Paste. Standard Copy and Paste using the mouse will not work. The Tiny MCE editor does include a Paste from Word option.
|
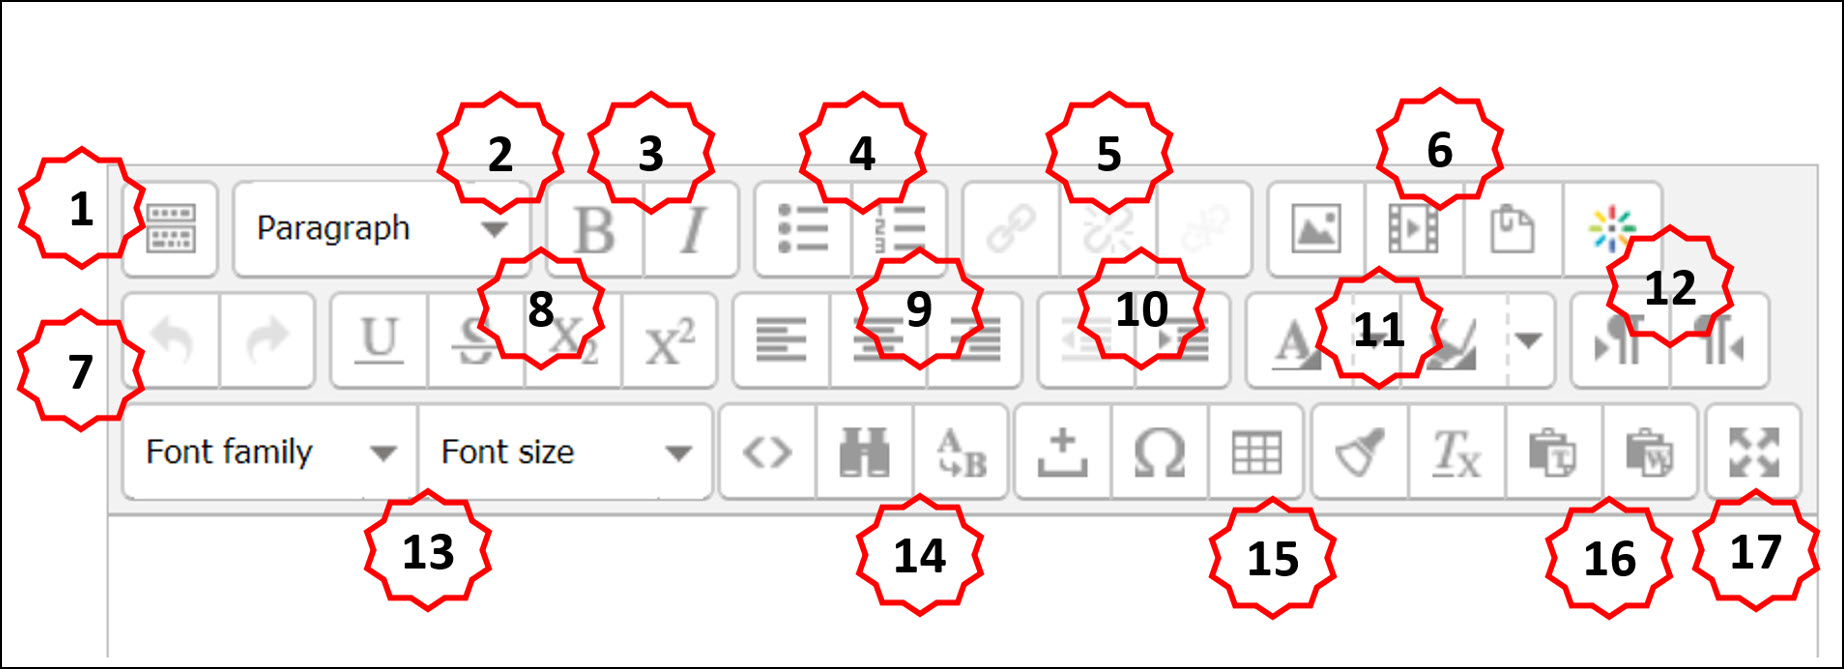
NOTE: Not all the options shown below will appear until you select the button on the top left (#1) to display all available formatting options. |
 |
|
Hover over the icons while logged in with the editor open to display the role of each “button” or icon. |
|
|
|
The TinyMCE editor has a more extensive list of formatting options. Here is a partial list of some of the tools available:
|
Atto HTML editor:Hover the mouse over each of the icons in the top bar to display the function. NOTE: Not all the options shown here will appear until you select the button to the top left to display all available formatting options. |
 |
Plain Text Editor:The plain text editor is just that. It does not provide text formatting options. The editor opens a text box which you may type or Ctrl + V to paste into. |
Forum Preferences
 |
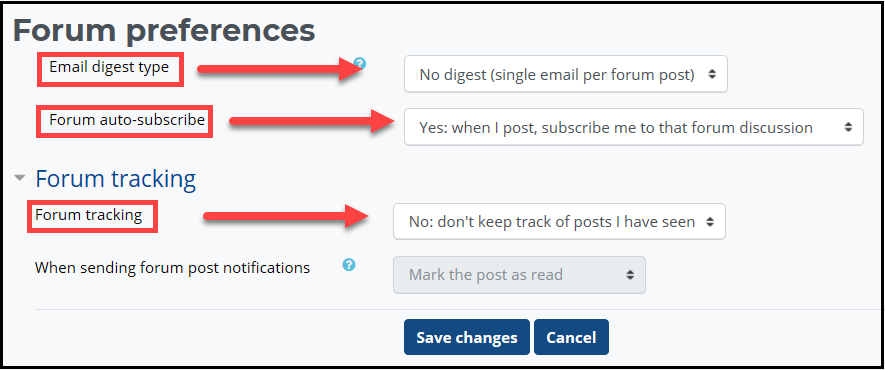
Forums are used to provide you opportunities to interact with your classmates. As the name suggests, “Forum Preferences” allows you to set up how you interact with your forums.
|
|
When the “Forum Preferences” window appears, use the drop-down box adjacent the setting to adjust your preferences using the guidelines below the image.
|
|
Post in a Forum
|
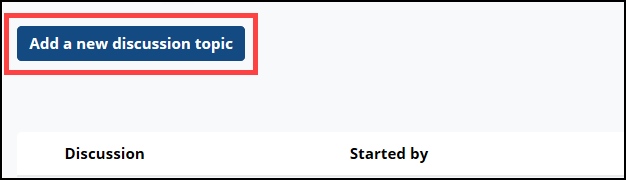
Forum discussions are a key component for collaborative learning in Moodle. When asked to post a new discussion, use the “Add a new discussion topic” or “Add a new topic” button to compose your post. |
 |
|
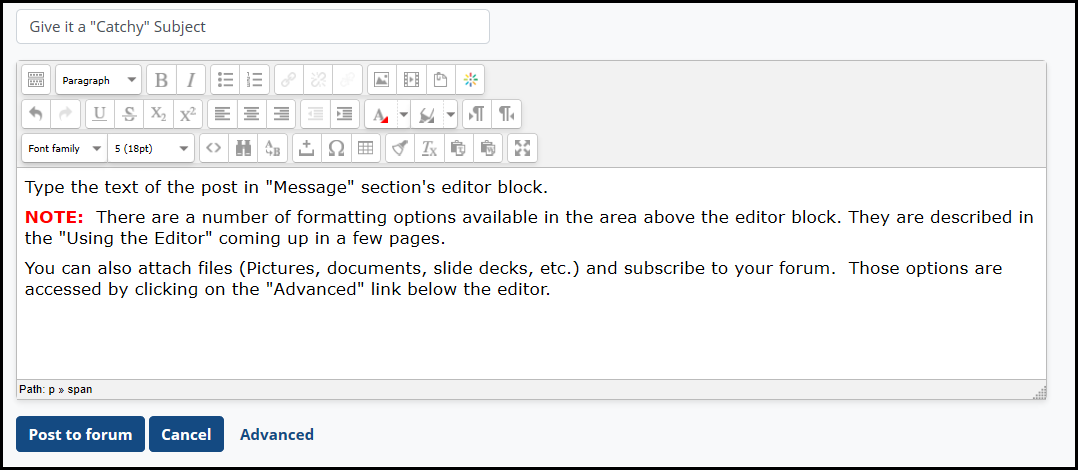
The window for entering and editing text will appear. Type the text of the post in "Message" section's editor block. |
 |
|
NOTE: There are a number of formatting options available in the area above the editor block. They are described in the "Using the Forum Editor" section coming up next. You can also attach files (Pictures, documents, slide decks, etc.) and subscribe to your forum. Those options are accessed by clicking on the "Advanced" link below the editor. They are discussed in the “Forum Advanced Options” section. Don't forget! Be sure to click the “Post to forum” to save and display your post. You will have 15 minutes to make any changes to your post, after which time you can no longer edit the content. |
 |
Adding Attachments
|
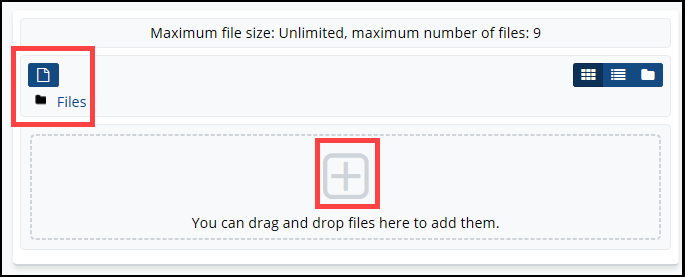
You can attach files in a number of different types of activities and assignments, including Forums, Glossaries, and Databases. NOTE: You must click the "Advanced" link to upload attachments.
|
|
|
There are two ways to add an attachment:
|
|
 |
|
|
Using the File Picker Click the blue folder icon in the upper left corner of the Attachment section.
|
|
|
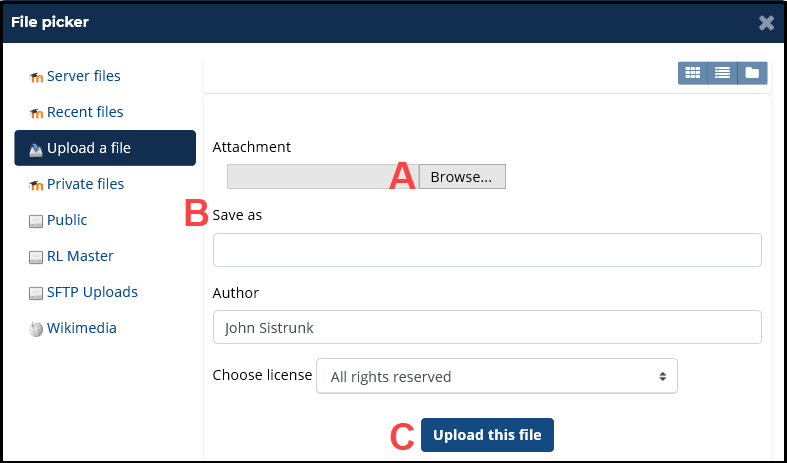
The “File picker” window will appear |
|
|
A. Click the “Browse” button navigate to the file location and select it.
|
|
|
After uploading the file, it will appear in the Attachment section. Don't forget! |
|
 |
|

Submit a File for an Assignment
|
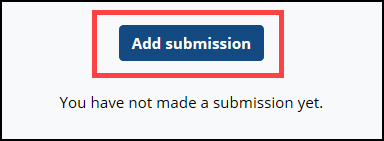
For some assignments, you will need to submit a file for grading. The upload process is basically the same as attaching a file, described earlier, but submitting the assignment for grading requires a few important extra steps. Upload A File to an Assignment A. Navigate to the appropriate assignment |
 |
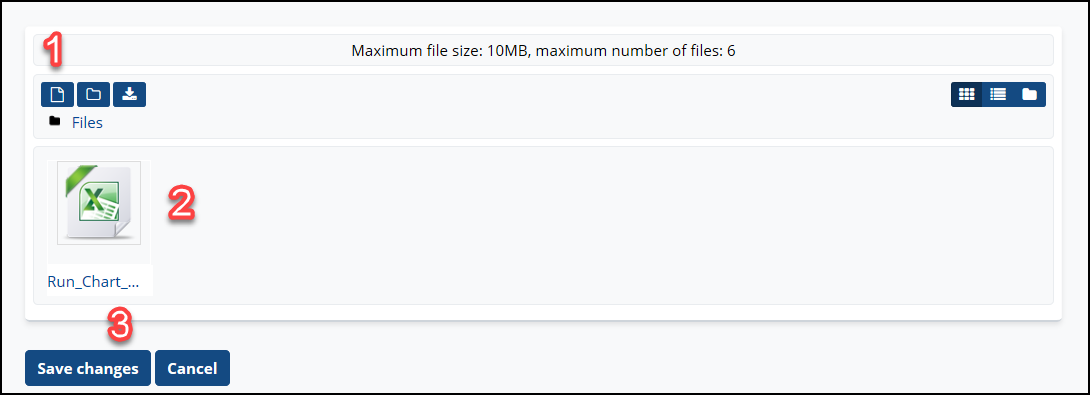
| C. The File submission window will appear as shown below. |
|
|
Don't stop there! You haven't submitted the assignment yet.
|
|
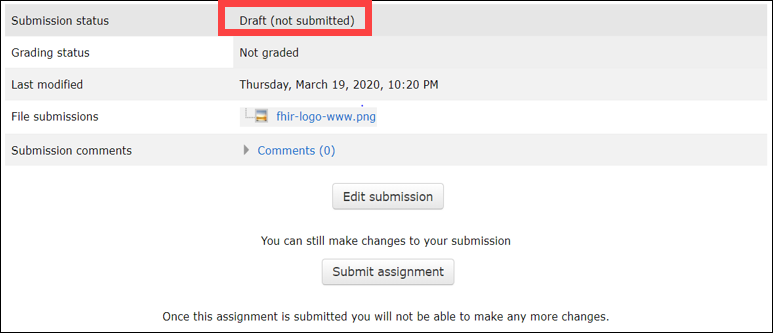
NOTE: Some assignments require additional steps beyond saving changes in order to submit your assignment. In that case, the Submission status reflects “Draft (not submitted).” You can still edit your submission at this point. |
 |
|
When editing is finished and your submission is final, select “Submit assignment.” |
 |
|
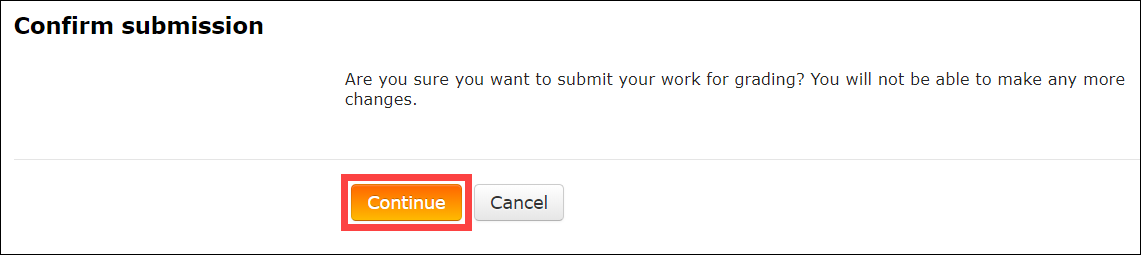
You may also be prompted to confirm your submission. Click "Continue." |
 |
|
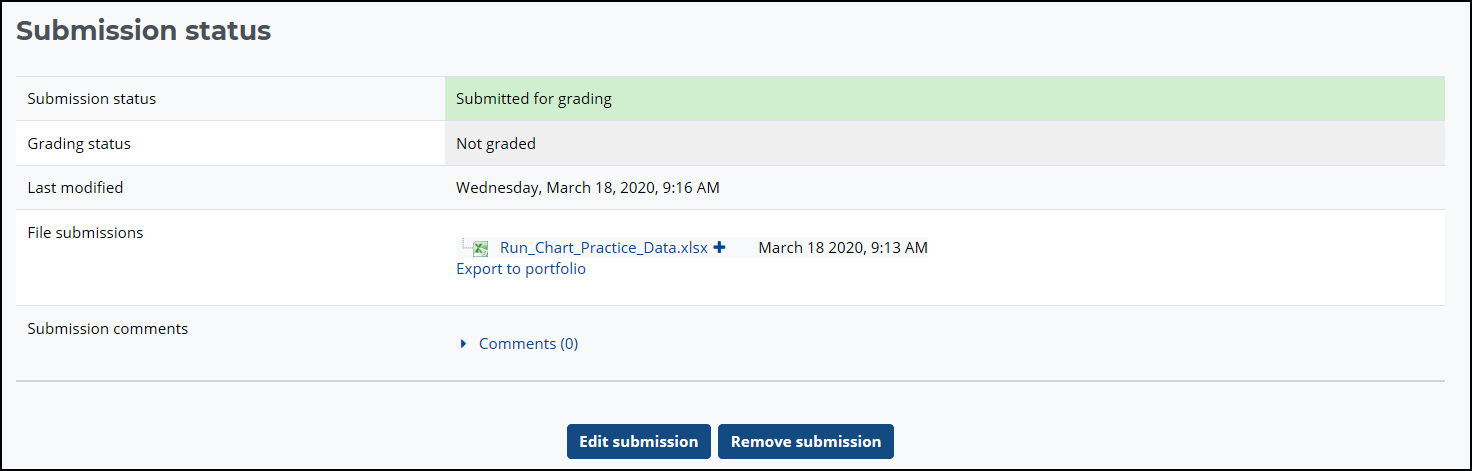
Once your file is submitted, the “Submission Status” window will appear and should reflect “Submitted for grading.” Some assignments do not actually require grading. Credit is given once the assignment is submitted. |
 |
Track Your Progress
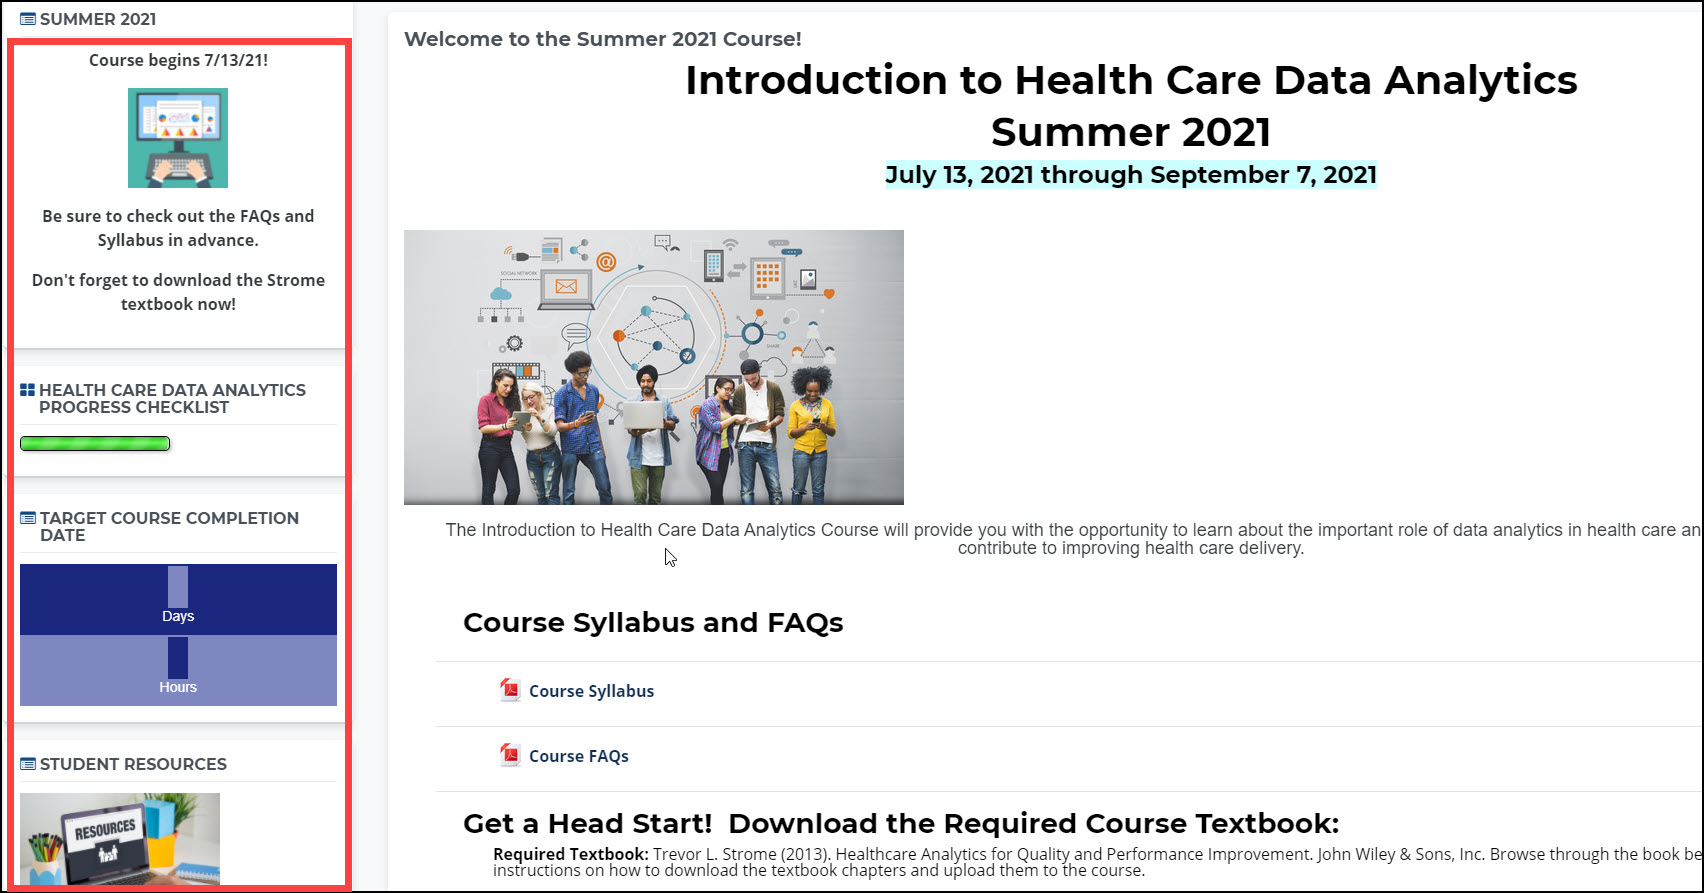
A checklist is provided in each course to help you keep track track of the assignments and activities you have completed. Many assignments are automatically updated when you complete the requirements. Some may need to be manually updated. For those, you will see a button on activity page to click when complete.
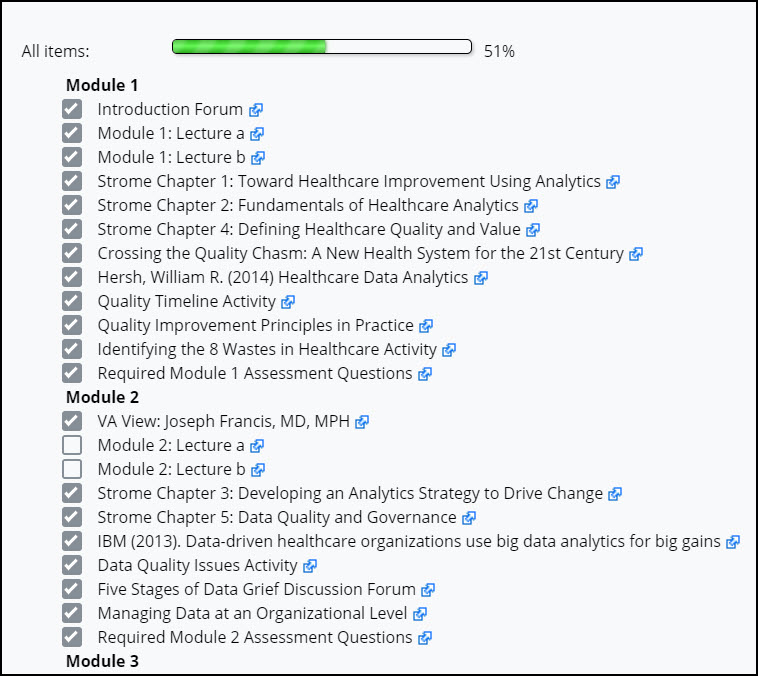
There is a also a progress bar displayed at the top of the page that can be used as a visual aid to track completion for each module.
Blocks Overview
|
When you are looking at a course, blocks are items displayed in the left-hand column of course pages. NOTE: When you look at your dashboard, some blocks will be in the right-hand column. |
 |
|
These blocks may change depending on where you are within the course and are often used to provide helpful tips and other information relevant to the specific activity or assignment. In addition to the Course Progress block previously mentioned, the next pages highlight a few of the blocks you can see. |
Misc Blocks
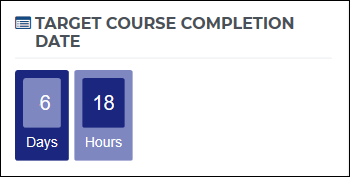 |
Target Course Completion Date This is a countdown timer indication the number of days and hours until the course is over. NOTE: You can request an extension if you need just a little more time to finalize your work. |
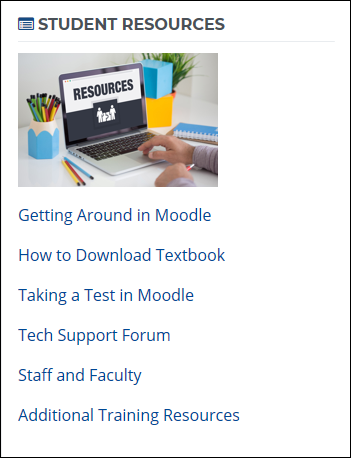 |
Student Resources This block displays a list of links to documents and tutorials aimed at letting you get the most out of your learning t experience. |
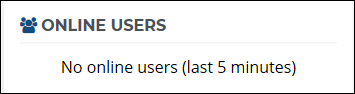 |
Online Users This block displays a list of the participants that are currently online working in the course. This can be helpful if you want to reach out to them. |
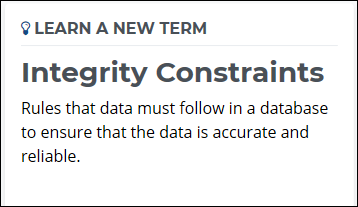 |
Learn a New Term This helpful block displays an informatics-related term along with a definition. A new list of links to documents and tutorials aimed at letting you get the most out of your learning t experience. |
Calendar
|
The Calendar block serves a powerful visual reminder of upcoming events and due dates. When your instructor sets due dates for assignments and activities in the course, the dates will be highlighted and linked to the specific item in the course. You can also use the calendar to add personal reminders. |
|
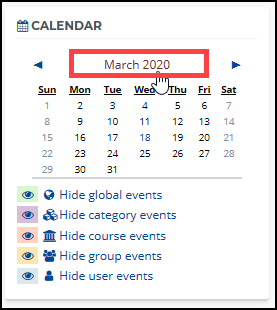 To add events, click the “Month” header within the Calendar block To add events, click the “Month” header within the Calendar block |
|
|
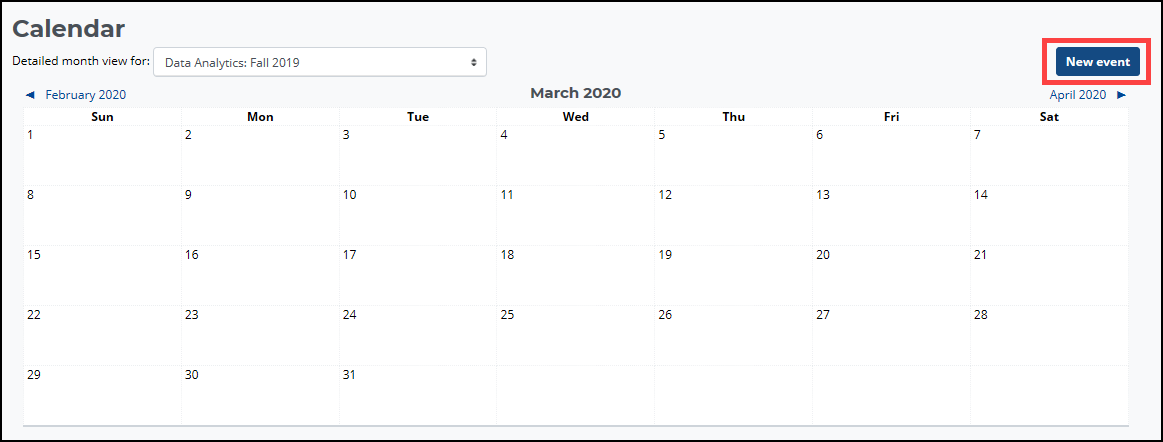
A full-size calendar will appear. |
|
 |
|
 Click the “New event” button. Click the “New event” button. |
|
| The “New Event” window will appear. | |
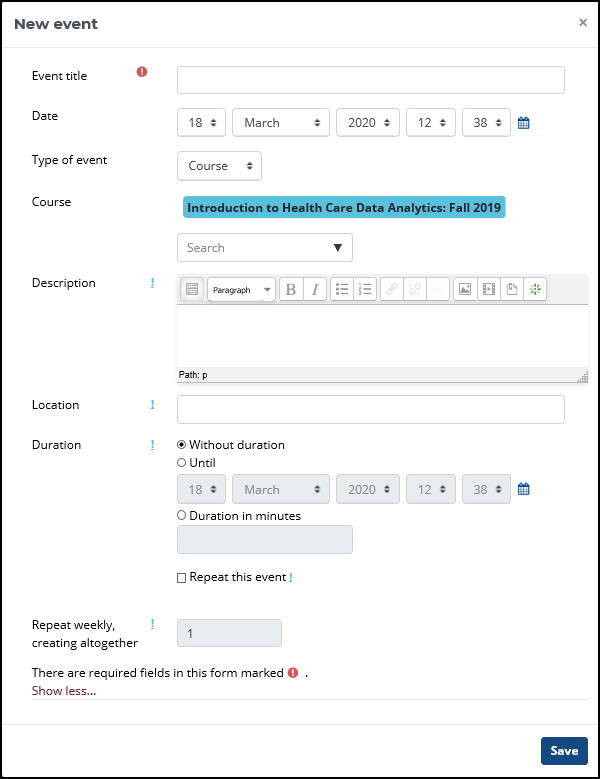 |
• Complete required fields
|
Grades
|
Some courses do not have grades. For those that do, you should complete the graded assignments within each module by the module end date or as soon as possible thereafter. Instructors will typically post grades by the end of the following week. If your course has segments that received grades, there are two ways to access them. |
|
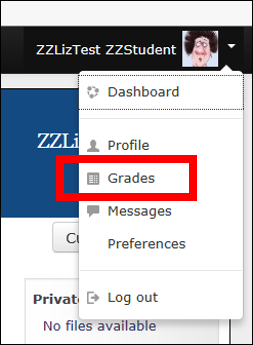 |
Click on the dropdown next to your name in the upper-right corner of the course window.
|
|
|
Or, click the “Menu” icon in the upper-left corner. |
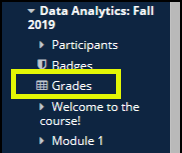 |
The menu will appear on the left side of each Moodle page. Find your course in the Navigation block and click the “Grades” link. |
Moodle messaging
Moodle has its own message system which allows participants to send messages (e-mail) to one another. If you receive a message from within the Moodle messenger, there are two notifications generated.
First, a message will be sent to the e-mail address included in your profile (Outlook or personal). In addition, whenever you log on to the classroom site, a notification will appear beside your name at the top right of the screen alerting you to the new message.

Note that this alert will continue to display each time you log on to the course until you review the message by following the link and clicking on the message to acknowledge it.
Conclusion
That wraps up the tour! Click the "Up" arrow on the right to exit. If you have any questions, please reach out to us at VHAhi2certhelp@va.gov